

You know, that little part that holds your cutting tool in place? It's called a stud kleen, and while it's small, it's super important. We often forget about these things until they cause a big problem. This article is all about giving the stud kleen the attention it deserves, from how to put it in right to knowing when it's time to let it go. Let's talk shop.
Key Takeaways
- Treat your stud kleen with care; it's not just a simple bolt. Proper installation and regular checks prevent big issues.
- Using a torque wrench is key when putting in a stud kleen. Over-tightening or using the wrong methods can damage your equipment.
- Stud kleens don't last forever. Keep track of their hours or replace them every few years to avoid unexpected failures.
- Regularly check your stud kleen for any dents, cracks, or wear. It's a small part of maintenance that can save a lot of trouble.
- When picking a new stud kleen, think about the materials and how it's made, not just the price. A good fit means better performance and less wear.
The Mighty Stud Kleen: More Than Just a Pretty Face
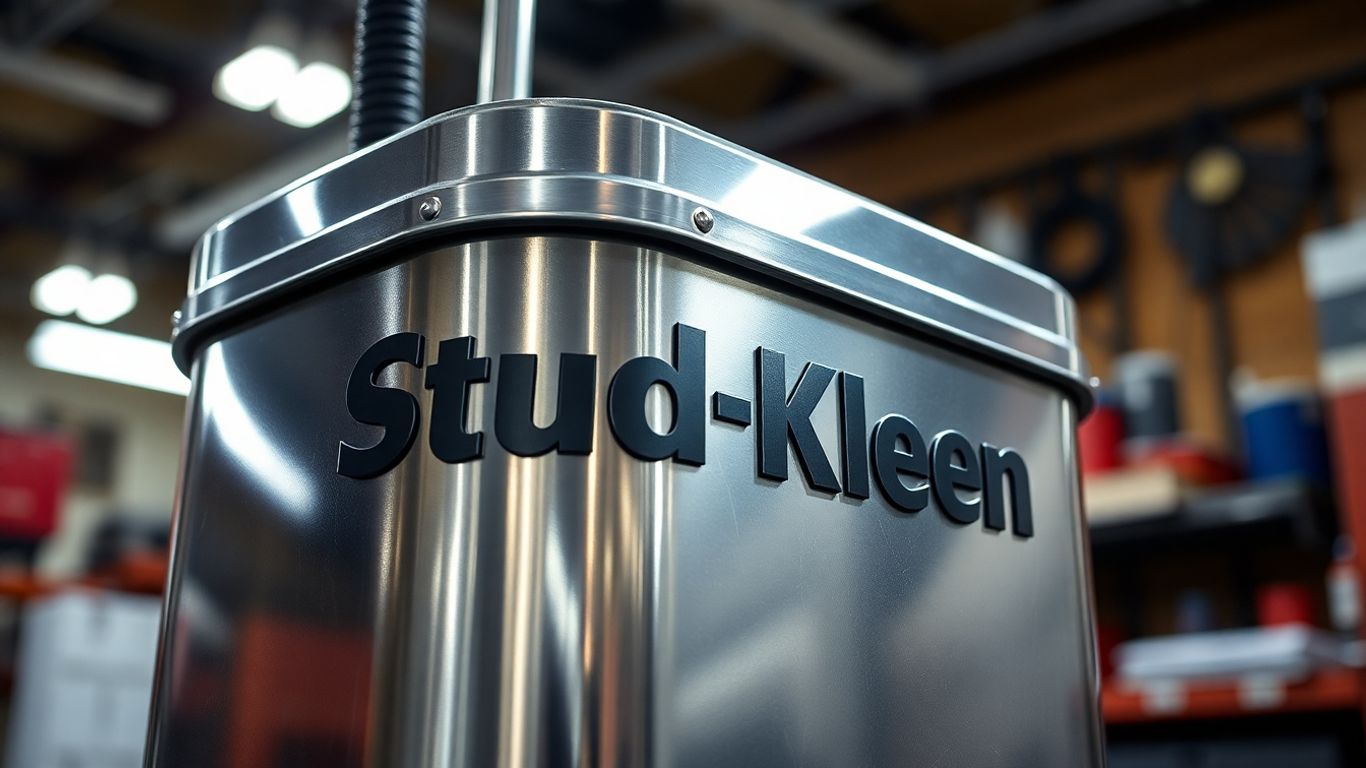
Alright, let's talk about the unsung hero of your machining setup: the Stud Kleen. You might know it as a pull stud, a retention knob, or maybe just "that threaded thingamajig that holds the tool." Whatever you call it, this little guy is way more important than it looks. It's the handshake between your expensive machine and your cutting tool, and if that handshake is weak, things can get ugly, fast.
Why Your Stud Kleen Deserves a Spa Day
Think about it. This little piece of metal is spinning around at speeds that would make your head spin, holding onto a tool that's literally carving away at metal. It's not just sitting there looking pretty. It's working. Hard. And just like you wouldn't run a marathon without stretching, your Stud Kleen shouldn't be expected to perform without a little TLC. Ignoring it is like showing up to a black-tie event in sweatpants – it just doesn't fly.
The 'Thingamajig' That Holds It All Together
So, what exactly makes this "thingamajig" so special? It's all about precision engineering. High-quality steel, careful heat treatment, and, importantly, a perfectly ground cylindrical pilot. This pilot is what mates with the toolholder bore, and when it's done right, it means better balance and repeatability. It's the difference between a smooth dance and a clumsy stumble on the shop floor. Some standards only call for this on certain types of toolholders, but good manufacturers grind them on all of them. Smart, right?
When Stud Kleen Goes Rogue: The Spectacular Crash
We've all heard the horror stories, or maybe even seen the aftermath. A Stud Kleen fails, and suddenly you've got a toolholder doing an impromptu aerial display, followed by a rather expensive meeting with your machine's spindle. This isn't just bad luck; it's often the result of neglect. Over-tightening, using the wrong Stud Kleen, or just plain old wear and tear can lead to metal fatigue. And when metal fatigue hits at 12,000 RPM, it's not pretty. It can cause the metal to swell, damage the toolholder, and eventually lead to vibration, fretting, and a whole lot of costly repairs. It’s a good idea to keep your Stud Kleens organized, maybe not in a big drawer where they can bang into each other, but somewhere safe. If you're looking for tips on keeping your tooling in top shape, check out some best practices for retention knob maintenance.
Here's a quick rundown of what to watch out for:
- Over-tightening: Leads to metal fatigue and swelling.
- Wrong Stud Kleen: Using a Stud Kleen not designed for your machine.
- Wear and Tear: Metal fatigue is real, folks.
Ignoring the Stud Kleen is a gamble. It's a small part, sure, but its failure can bring your entire operation to a screeching halt. A little attention goes a long way in preventing a catastrophic event.
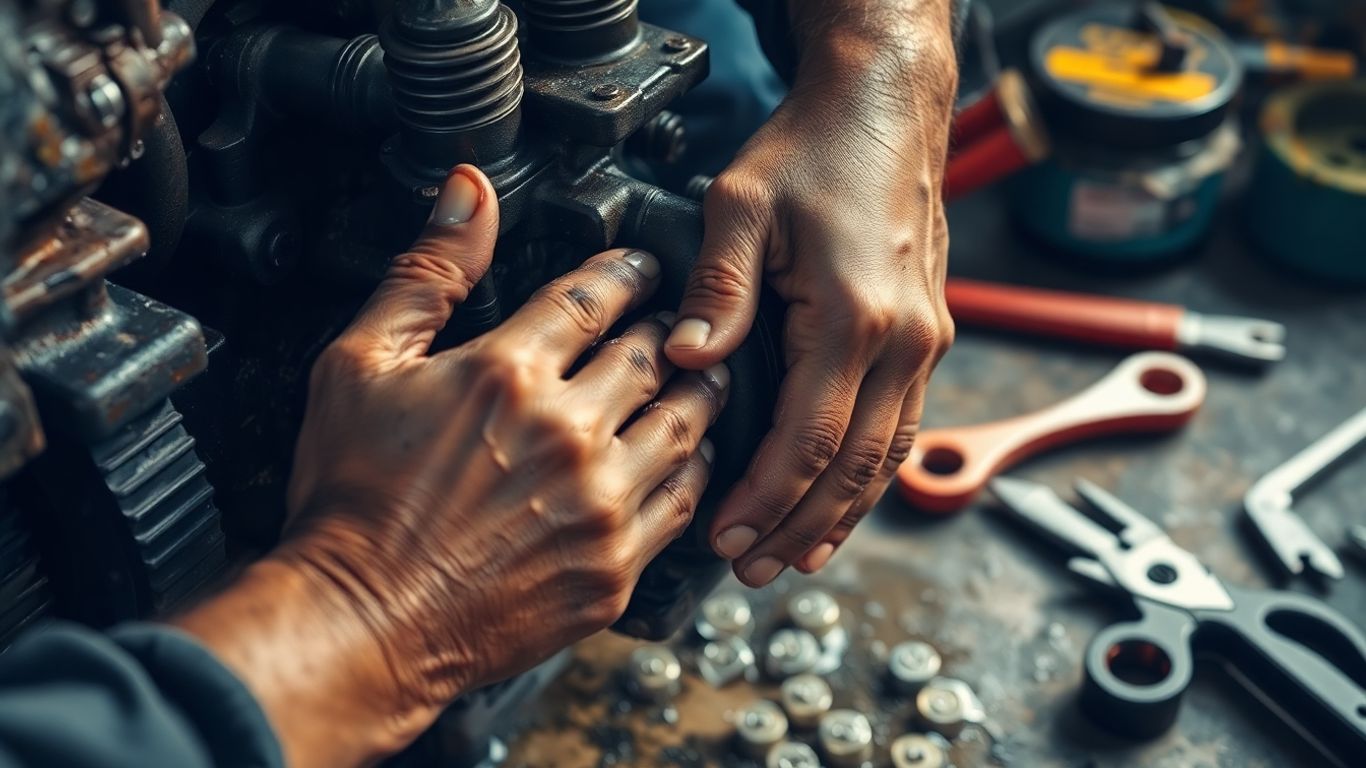
Stud Kleen Installation: Don't Be That Guy
Alright, let's talk about putting that shiny new Stud Kleen where it belongs. You've probably seen folks just jam it in there, maybe give it a good whack with a hammer, and call it a day. Please, for the love of all that is mechanically sound, don't be that guy. This isn't just some random bolt; it's a precision piece that keeps your whole operation from going sideways, literally. Getting it wrong can lead to some seriously spectacular crashes, and nobody wants to explain that to the boss.
Torque Wrench Tango: A Love Story with Your Stud Kleen
Think of your Stud Kleen like a delicate dance partner. You wouldn't yank your partner around the dance floor, would you? Same goes for this little guy. The best way to treat it right is with a torque wrench. Seriously, get one, set it to the manufacturer's specs, and give it a nice, even turn. It’s all about that perfect snugness, not brute force. Over-tightening is a one-way ticket to metal fatigue and a whole heap of trouble down the road. It can actually swell the metal, mess up the fit with the spindle, and start a whole cascade of problems.
Mallets and Breaker Bars: The Unholy Union
Let's be blunt: mallets and breaker bars have no business being anywhere near your Stud Kleen during installation. Using these tools is like trying to thread a needle with a sledgehammer. It might feel like you're getting it done, but you're actually just beating the poor Stud Kleen into submission. This kind of abuse leads to premature wear, potential damage to the toolholder, and a higher chance of that dreaded spindle taper damage. If you're tempted to reach for these, take a deep breath and step away from the tool.
The Wrong Stud Kleen: A Recipe for Disaster
It sounds simple, but grabbing the right Stud Kleen is surprisingly tricky for some. Shops often have a chaotic drawer where these things get tossed around, getting dinged up and mixed with different brands. Then, someone grabs one that looks about right and shoves it in. This is a recipe for disaster. Using the wrong type can lead to poor fit, vibration, and eventually, catastrophic failure. Always double-check that you have the correct model for your machine. It's worth taking a moment to inspect your automotive wheel stud cleaner before installation to ensure it's in good condition.
Here's a quick rundown of what to avoid:
- Using excessive force (mallets, breaker bars).
- Ignoring torque specifications.
- Mixing and matching Stud Kleen types.
- Installing a damaged or worn Stud Kleen.
Remember, the Stud Kleen is the critical link between your toolholder and the machine spindle. Treating it with respect during installation pays dividends in reliability and longevity. Don't be the reason for a costly breakdown.
Stud Kleen's Finite Life: It's Not Forever, Folks
Look, nobody likes thinking about the end of the road, especially when it comes to our trusty Stud Kleens. But just like that favorite pair of jeans or that questionable leftover in the fridge, they don't last forever. Pretending otherwise is a fast track to a really bad day, usually involving a spectacular crash and a very unhappy machine.
The 6,000-Hour Rule: When to Say Goodbye to Your Stud Kleen
So, when does your Stud Kleen start collecting its pension? Haas Automation, for one, suggests a general guideline of replacing them somewhere between 6,000 and 8,000 hours of use. Think of it as a rough estimate, like guessing how long a bag of chips will last at a party. It's a good starting point, but your actual mileage may vary.
Here's a quick rundown of what to consider:
- Heavy Use: If your machine is running multiple shifts, you're probably closer to the 6,000-hour mark. Treat it like a marathon runner – it needs more frequent check-ups.
- Light Use: If your Stud Kleen is mostly chilling, you might stretch it a bit, but don't get too comfortable.
- The 'Just In Case' Factor: Sometimes, it's just better to swap it out if it's nearing the end of its suggested life. The cost of a new Stud Kleen is peanuts compared to a spindle repair.
Grease is the Word: Keeping Your Stud Kleen Happy
Want to squeeze a few extra miles out of your Stud Kleen? A little bit of lubrication goes a long way. Haas also recommends a light coat of grease on the Stud Kleen monthly. If you're using through-spindle coolant, you might want to bump that up to weekly. This helps reduce wear on both the Stud Kleen itself and the tool change mechanism. It’s like giving your car an oil change – simple, but it prevents bigger headaches down the line. Proper lubrication is key to preventing bearing failures and extending the life of your tooling. Learn about bearing maintenance.
The Three-Year Itch: A Stud Kleen Replacement Strategy
Beyond the hours, there's also the calendar to consider. Metal fatigue doesn't care if you've only put 5,000 hours on it; time takes its toll. A good rule of thumb is to have a replacement strategy. If your shop runs standard eight-hour shifts, consider replacing them at least every three years. If you're running 24/7, you might want to look at an annual replacement schedule. It’s a proactive approach that saves you from the dreaded "Oh no, what was that?" moment.
Don't wait for a failure to happen. Proactive replacement based on usage and time is far more cost-effective than dealing with the aftermath of a broken Stud Kleen. It's a small investment in preventing a much larger expense.
Remember, these are just guidelines. Regular inspection is your best friend. If you see any signs of wear, dents, or anything that just looks 'off,' don't hesitate to make the swap. Your machine will thank you.
Stud Kleen Maintenance: Beyond the 'Meh'
Alright, let's talk about keeping your Stud Kleens happy. We all know they're not exactly the glamorous part of the shop, but ignoring them is like forgetting to water your prize-winning petunias – eventually, things get ugly. Think of this as their spa day, minus the cucumber slices and Enya.
Inspection Station: Dents, Dings, and Despair
First things first, give your Stud Kleens a good once-over. Are there any nasty dents? Little cracks that look like they're plotting something? Corrosion that makes them look like they've been through a zombie apocalypse? If you spot any of these signs of wear and tear, it's time to send that tired Stud Kleen packing. A little inspection now can save you a whole lot of expensive headaches later. It’s like checking your tires before a long road trip; you don’t want a blowout at 12,000 RPM, trust me.
Marking Your Territory: Date Codes and Serial Numbers
Ever wonder how long your Stud Kleen has been holding down the fort? If you don't know, you're basically flying blind. Some fancy Stud Kleens come with date codes and serial numbers already etched on them. If yours don't, get them marked! You can send them out for laser marking or just grab a permanent marker and do it yourself. It’s not rocket science, but it’s a good way to keep track of their age. This helps when you're trying to figure out when it's time for a replacement. For some quick tips on keeping things clean, check out this home care guide.
The Spreadsheet vs. The RFID: Managing Stud Kleen's Legacy
Now, how do you actually manage all this Stud Kleen information? For the high-tech shops, RFID tags married to your toolholders can do the heavy lifting. The software tells you when it's time to swap them out. For the rest of us, a good old-fashioned spreadsheet or even a notebook will do the trick. It might sound like a pain, but keeping track of usage isn't that far off from how many shops already track cutting tool life. It’s a small investment of time to prevent a potentially massive disaster. Here’s a rough idea of how long they might last:
| Shift Type | Recommended Replacement Interval |
|---|---|
| Single Shift (8 hours) | Every 3 years |
| Multiple Shifts (24/7) | Annually |
| High Usage | Every 6,000-8,000 hours |
Remember, these are just guidelines. Always inspect your Stud Kleens regularly, and if you see any signs of wear, don't wait for the calendar to tell you it's time. Better safe than sorry, right?
Choosing Your Stud Kleen Wisely: It's Not All About the Price Tag
Steel, Coatings, and Grinding: The Stud Kleen Trifecta
Alright, let's talk about picking the right Stud Kleen. It's easy to just grab the cheapest one you see, but trust me, that's a fast track to a headache. Think of it like buying shoes – you wouldn't buy the ones that pinch just because they're on sale, right? The same goes for your Stud Kleen. The good stuff is usually made from some high-quality steel alloy. Then there's the coating, often a black oxide finish, which helps keep rust at bay. But here's a pro tip: look for ones where all the important bits, especially the part that fits into the toolholder, have been finish-ground after hardening. This makes a big difference in how well everything fits and spins.
The Cylindrical Pilot: A Perfect Fit for Your Spindle
This is where that grinding I just mentioned really matters. There's a specific part, called the cylindrical pilot, that needs to mate perfectly with the toolholder. It's kind of like a key in a lock. If it's not ground right, it won't sit flush. This can lead to all sorts of wobbles and vibrations, which is exactly what you don't want when you're spinning things at high speeds. A well-ground pilot helps keep everything balanced and running smoothly. It's the little details that count, folks.
Balancing Act: Treating Your Stud Kleen Like a Ballet Dancer
So, you've got your fancy, well-ground Stud Kleen. Now what? You gotta treat the whole setup like a delicate dance. The entire toolholding assembly, including the Stud Kleen, needs to be balanced as one unit. If one part is a bit off, it throws everything else out of whack. Think of it like a wobbly tire on your car – it's annoying, and it can cause more damage down the road. A balanced system means less wear and tear on your machine and, more importantly, fewer chances of a spectacular crash.
Here's a quick rundown of what to look for:
- Material: High-quality steel alloy is your friend.
- Finish: Look for finish-ground functional surfaces, especially the pilot.
- Coating: Black oxide or similar helps prevent corrosion.
- Balance: Consider the entire assembly, not just the Stud Kleen in isolation.
Don't skimp on the Stud Kleen. It's a small part, but it plays a huge role in the overall health and performance of your machining setup. A little extra spent upfront can save you a lot of grief (and money) later on.
Stud Kleen Abuse: Tales from the Trenches
Alright, let's talk about the Stud Kleen. You know, that little guy holding your fancy toolholder to the machine spindle. We all know they're important, but sometimes, they get treated like a red-headed stepchild. It's like, "Oh, it's just a stud, what's the big deal?" Well, my friend, the big deal is that this "little guy" can cause some serious, expensive headaches if you mistreat him.
The Big Drawer of Doom: Where Stud Kleens Go to Die
Ever walked into a shop and seen a big, overflowing drawer filled with Stud Kleens? They're all jumbled together, banging against each other like a mosh pit at a heavy metal concert. This isn't just messy; it's a recipe for disaster. Every little nick and scratch on a Stud Kleen is a potential weak spot. Plus, with different brands and types floating around, it's way too easy to grab the wrong one for the job. Using the wrong Stud Kleen is like trying to fit a square peg in a round hole – it just doesn't end well.
Swollen Metal and Fretting: The Stud Kleen's Revenge
So, you think cranking down on that Stud Kleen with a breaker bar or, heaven forbid, a mallet is the way to go? Think again. Over-tightening doesn't just make it hard to get off later; it actually swells the metal around the stud. This can damage your toolholder and create a sloppy fit with the spindle taper. This looseness leads to vibration, which causes fretting – a fancy word for wear caused by rubbing. It's like the Stud Kleen is fighting back, and your spindle is the one taking the hits.
Vibration Nation: When Your Stud Kleen Loses Its Cool
When a Stud Kleen isn't seated properly, or it's damaged, it can cause some serious wobbles. This vibration isn't just annoying; it's bad news for your machine. It puts extra stress on everything, from the spindle bearings to the cutting tool itself. Imagine trying to do delicate surgery while riding a jackhammer – not ideal, right? A worn-out or improperly installed Stud Kleen can lead to premature wear, reduced accuracy, and, in the worst-case scenario, a spectacular crash that leaves your machine looking like it went ten rounds with a bulldozer.
Here's a quick rundown of what not to do:
- The "Gorilla Grip" Method: Using excessive force and no torque wrench.
- The "Mix and Match" Approach: Grabbing any Stud Kleen from the communal drawer.
- The "Ignore It" Strategy: Never inspecting or replacing them until something breaks.
Remember, your Stud Kleen is a small part of a big system, but its failure can bring the whole operation to a screeching halt. Treat it with respect, and it'll do its job without complaining.
Working on cars can get messy, and sometimes you run into tough spots. Our section, "Stud Kleen Abuse: Tales from the Trenches," shares real stories about cleaning up tricky wheel studs. It's all about making those tough jobs easier. Want to see how we tackle these challenges and keep your wheels looking sharp? Visit our website to learn more about our tools and tips!
So, What's the Takeaway?
Alright, so we've talked a lot about these little metal doodads, the retention knobs. Honestly, who knew such a small part could cause so much drama? It's like that one friend who always forgets to lock the door – seems minor, but it can lead to a whole lot of trouble. Remember to treat them right, give 'em a once-over now and then, and maybe don't just yank 'em out with a pipe wrench. Your spindle will thank you, and you won't have to explain to the boss why there's a tool holder doing ballet in the middle of the shop. Keep those knobs happy, and maybe, just maybe, you'll avoid a really expensive oopsie.
Frequently Asked Questions
What exactly is a 'Stud Kleen' and why is it important?
A 'Stud Kleen,' also known as a retention knob or pull stud, is a small but super important metal piece that connects your tool holder to your machine. Think of it like the handshake between your cutting tool and the machine. If this connection isn't strong and secure, bad things can happen, like tools flying out or the machine getting damaged.
How often should I replace my Stud Kleen?
It's not forever, unfortunately. Many experts suggest replacing them around every 6,000 to 8,000 hours of use. For a standard 8-hour workday, that's about three years. If your shop runs 24/7, you'll want to swap them out more often, maybe yearly. Checking them regularly for any damage is also key.
What's the biggest mistake people make when installing a Stud Kleen?
A common mistake is not using the right tools. People sometimes try to tighten them too much with a breaker bar or even a hammer, which can actually damage the Stud Kleen and the tool holder. It's best to use a torque wrench set to the manufacturer's recommended tightness. This ensures a good fit and prevents future problems.
Can a worn-out Stud Kleen really cause a big crash?
Absolutely. When these parts get old or damaged, they can break, especially when the machine is spinning really fast. If a Stud Kleen breaks mid-operation, the tool holder can come loose and smash into the machine. This is called a 'crash,' and it can cause a lot of expensive damage and downtime.
How can I keep track of how long my Stud Kleens have been in use?
For some shops, special computer systems can track this automatically. But for many, a simple spreadsheet or even a notebook works just fine. You can also write the date you installed a new Stud Kleen directly on it. The important thing is to have a system so you know when it's time for a replacement.
Besides replacing them, what kind of maintenance do Stud Kleens need?
Regular check-ups are essential! You should look for any dents, scratches, or signs of wear. Some people also recommend putting a little bit of grease on them every month, especially if your machine uses coolant that sprays through the spindle. This helps everything move smoothly and reduces wear and tear.


